


Struggling with rising bounce rates and inconsistent deliverability in your B2B SaaS campaigns is more common than you might think. Without a structured email verification process, even the most well-crafted outreach can stall before it reaches real prospects. By integrating accurate email verification methods, you not only protect your sender reputation but also improve your campaign's ROI. This guide outlines clear, practical steps and best practices to help your team implement reliable verification strategies from start to finish.
Quick Summary
| Key Insight | Explanation |
|---|---|
| 1. Prepare Your Email List Carefully | Ensure your email list is complete and organized to get accurate validation results. Remove duplicates and invalid entries before running validation checks. |
| 2. Integrate Email Verification Tools | Use BillionVerify to automate validation in real-time for new emails, preventing bad data from entering your system. Consider periodic bulk checks for existing lists. |
| 3. Configure Settings for Optimal Results | Adjust verification settings based on your campaign needs, balancing false positives and negatives for greater accuracy in email validation. |
| 4. Utilize Both Real-Time and Bulk Checks | Implement both validation methods—real-time for new entries and bulk for existing lists—to maintain overall list cleanliness and deliverability. |
| 5. Review Reports for Strategy Refinement | Use verification reports to identify trends in your email data, adjusting your marketing strategies and improving lead generation quality based on insights gained. |
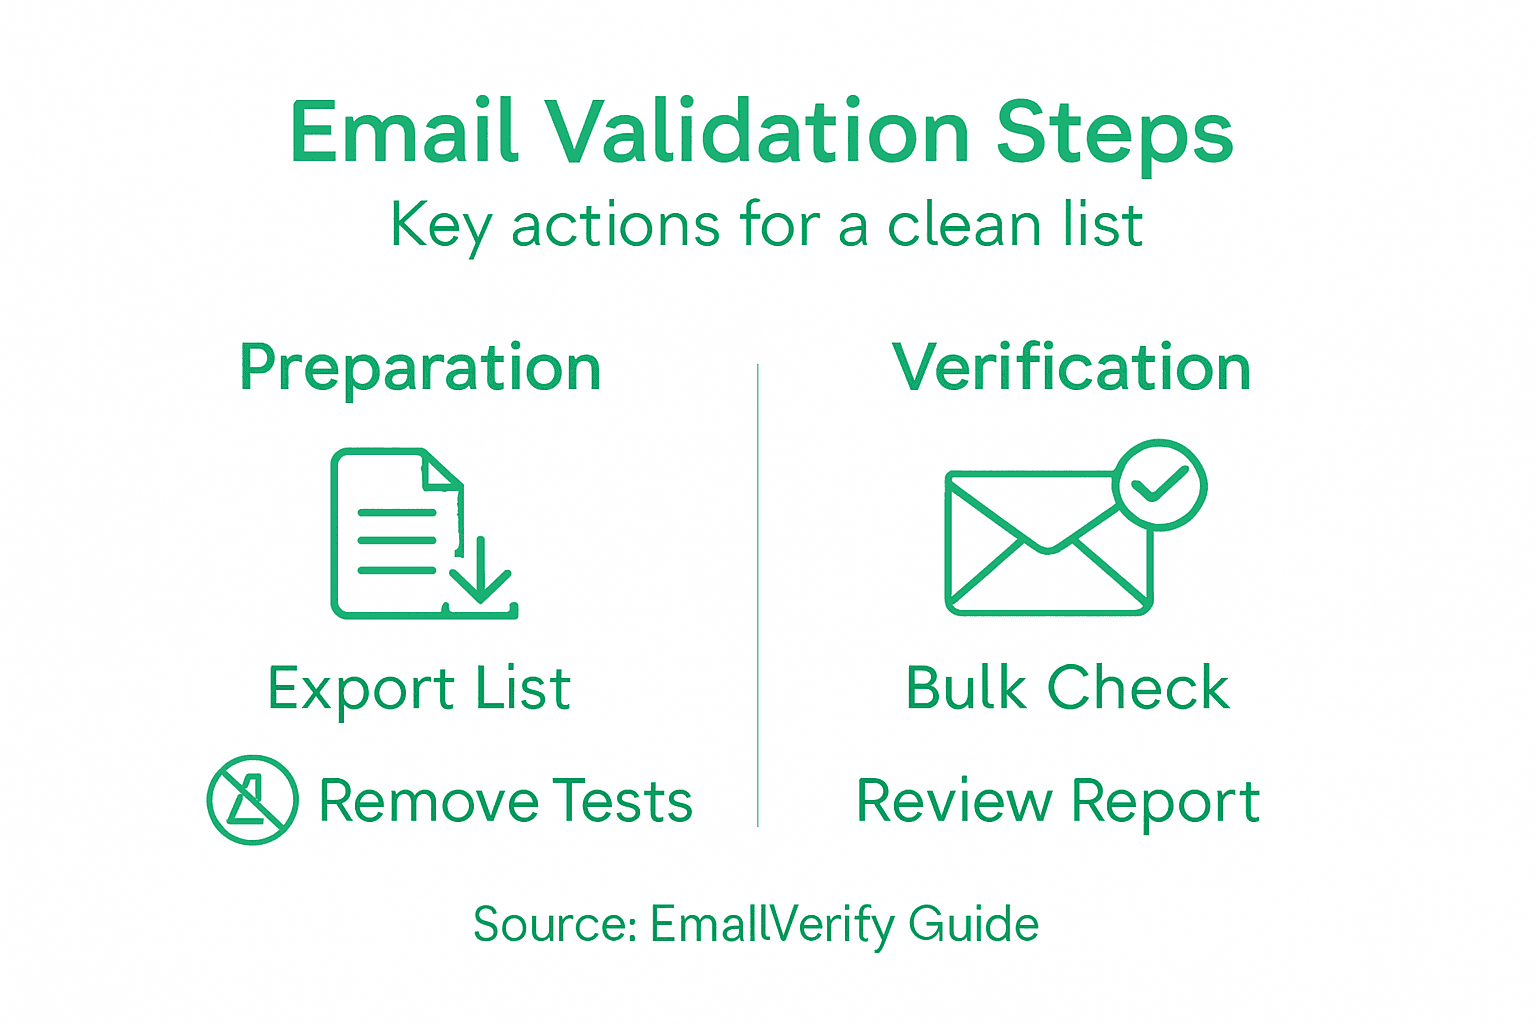
Step 1: Prepare your email list for validation
Before you run your email list through validation, you need to lay the groundwork. Think of this step as organizing your garage before the home inspection. Everything needs to be accounted for, properly labeled, and ready for scrutiny. Preparing your email list correctly ensures that validation results are accurate and actionable, and it saves you time during the actual verification process.
Start by exporting your complete email list from your current system. This is where many marketers stumble. You want to include every email address you have, even the ones you haven't touched in months. Ensure you capture all relevant contact information alongside the email addresses, such as names, company names, subscription dates, or campaign source. According to guidance on data accuracy and preparation, verifying data completeness and timeliness is critical before running validation checks. This foundational step prevents gaps in your validation results.
Next, organize your data in a structured format. Most email verification services accept CSV or Excel files, so convert your list into one of these formats if it's not already. Check that your file has a clear header row identifying what each column contains. Remove any duplicate email addresses because validating the same email twice wastes credits and skews your results. You can use your spreadsheet software's built-in duplicate detection or filtering features to handle this quickly. Also scan for obviously malformed entries, such as emails with no "@" symbol or multiple "@" signs. These won't pass validation anyway, and removing them beforehand streamlines your process.
Payment attention to data management practices, especially if you're working with regulated data or managing large institutional lists. Proper records management and email categorization ensures that your list aligns with retention policies and organizational standards. This matters for compliance and for maintaining data integrity throughout your validation workflow.
One final check involves removing test addresses and internal email accounts that don't represent real prospects or customers. If your marketing team has been using test@yourcompany.com or demo addresses, filter those out now. Keeping them in your validation run dilutes the quality of your results and prevents you from getting accurate insights into your actual list health.
Pro tip: Segment your list by source or acquisition date before validation so you can see which channels or campaigns produce higher quality email addresses, helping you refine your lead generation strategy going forward.
Step 2: Integrate BillionVerify with your platform
Once your email list is clean and organized, the next move is connecting BillionVerify directly to your marketing platform or application. This integration transforms validation from a one-time task into an ongoing, automated process. Instead of manually uploading lists every time you need verification, BillionVerify works behind the scenes in real-time, checking email addresses as they enter your system. This keeps your data clean without slowing down your team's workflow.
Start by accessing the API documentation for BillionVerify or checking if your existing platform has a pre-built integration available. Many popular marketing automation tools and customer relationship management systems already support direct connections to email verification services. If your platform supports it, look for the integration marketplace or app store within your dashboard. Search for BillionVerify and follow the authorization steps to connect your accounts. You'll typically need to generate an API key from your BillionVerify account settings, then paste that key into your marketing platform's integration settings. This key acts as a secure bridge between the two systems, allowing them to communicate without sharing sensitive account information. According to guidance on enterprise application integration frameworks, setting up APIs and authentication credentials is essential for connecting external verification services to your platform for seamless validation workflows.
If your platform doesn't have a native integration, you'll work with your development team to build one using the BillionVerify API directly. This involves pulling the API documentation, understanding the endpoints available, and writing the code that sends email addresses to BillionVerify and receives validation results back. The process sounds technical, but modern APIs are designed to be developer friendly. Your team would typically set up a webhook or scheduled task that validates new emails automatically as they're added to your system. Test this integration thoroughly in a staging environment before rolling it out to production. Run a batch of test emails through the integration to confirm that valid addresses pass and invalid ones get flagged correctly. Document the process so future team members understand how it works and can troubleshoot issues if they arise.
Consider where in your workflow you want validation to happen. Some teams prefer checking emails immediately when a contact signs up or is imported. Others run validation periodically on their entire list to catch degraded addresses over time. Both approaches work, but real-time validation catches problems faster and prevents bad emails from entering your system in the first place. After integration is complete, set up monitoring and alerts so you know if the connection breaks or if validation results start looking unusual.
Pro tip: Test your integration with a small sample list first before running it on your entire contact database, and set up email notifications to alert your team if verification response times spike or API calls start failing unexpectedly.
Step 3: Configure verification settings for accuracy
Now that your integration is live, you need to fine-tune the verification settings to match your specific business needs and risk tolerance. Different email lists require different verification approaches. A B2B SaaS company acquiring leads through a high-volume webinar may have different validation needs than one building relationships through personalized outreach. Configuring your verification settings correctly means you catch invalid addresses without rejecting legitimate contacts, keeping your bounce rates low and your deliverability high.

Start by understanding the different verification layers available to you. Most email verification services, including BillionVerify, offer multiple validation checks that work together. Syntax checking confirms that an email address follows the proper format with a valid structure. Domain validation verifies that the domain actually exists and can receive mail. Disposable email detection flags temporary or throwaway addresses commonly used for spam. Mailbox existence checking determines whether the specific email account is active and accepting mail. You don't necessarily need to enable every check for every campaign. Consider your audience and campaign goals when selecting which checks to activate. For example, if you're running a webinar registration campaign, you might prioritize disposable email detection to keep registration lists clean. For a B2B prospecting campaign, mailbox existence checking becomes more valuable because you want confidence that you're reaching real business professionals.
Another critical configuration involves sensitivity settings. Email verification operates in a balance between false positives and false negatives. A false positive occurs when the system incorrectly rejects a valid email address, potentially costing you a legitimate lead. A false negative happens when an invalid address passes through, wasting your sending resources and damaging your sender reputation. According to best practices for email validation configuration and accuracy, combining multiple verification layers and adjusting sensitivity settings helps balance false positives and negatives while optimizing validation to fit your campaign's risk tolerance. You'll want to test different sensitivity levels with a small sample of your audience to find the sweet spot that works for your business.
Also configure how you want the system to handle borderline cases. Some addresses come back as "uncertain" or "risky" rather than clearly valid or invalid. You need to decide whether uncertain addresses get sent to your campaign, moved to a separate list for manual review, or suppressed entirely. Your choice depends on how much risk you're willing to take. A conservative approach suppresses uncertain addresses but may cost you some valid contacts. A more aggressive approach includes them but risks damaging your sender reputation. Document your chosen approach so you understand why certain addresses are being treated certain ways.
If your organization handles regulated data or must comply with specific standards, you'll also want to configure authentication settings. Proper email authentication configuration with DMARC, SPF, and DKIM helps verify that emails are from authorized senders and prevents spoofing. These DNS record configurations work alongside your verification settings to strengthen your overall email security and deliverability.
Pro tip: Run a verification test on a representative sample of 500-1,000 emails from your list before committing to full-scale validation, then compare the results against emails you know are valid or invalid to calibrate your sensitivity settings for maximum accuracy.
Step 4: Run real-time and bulk email checks
With your verification settings configured, you're ready to activate both real-time and bulk email checks. These two validation approaches work together to keep your marketing list clean from multiple angles. Real-time validation catches problems immediately as new contacts enter your system, while bulk checks periodically scrub your entire list to remove addresses that have degraded over time. Running both gives you comprehensive protection against bounce rates and deliverability issues.
Start with real-time validation, which works automatically whenever someone signs up through your website, subscribes to a form, or gets added to your system manually. The moment an email address enters your platform, it gets validated instantly against BillionVerify's database. This happens so quickly that most users never notice the verification happening in the background. If an email fails validation, you have options. You can prevent it from entering your system entirely, flag it for review, or add it to a separate suppression list. Real-time validation is powerful because it stops bad data at the source before it ever becomes part of your marketing list. Your team never has to clean up invalid addresses because they never made it in to begin with. This approach works best for lead capture forms, signup pages, and any entry point where contacts first interact with your business.
Bulk email checks operate differently. According to research on real-time versus batch email validation approaches, bulk validation processes large lists periodically to eliminate invalid or outdated emails, ensuring large-scale list cleanliness before campaigns launch. You schedule bulk validation runs at regular intervals, perhaps weekly or monthly depending on how quickly your list grows and changes. Upload your complete contact list to BillionVerify, and the system validates every address against its comprehensive database. This catches addresses that were valid when they entered your system but have since become inactive or degraded. Email addresses naturally decay over time as people change jobs, switch providers, or close accounts. A bulk check catches these changes so you don't waste campaign budget sending to dead addresses.
The key difference is timing and application. Real-time validation works at the point of entry, providing immediate feedback and preventing invalid emails from ever entering your system. Bulk validation works on historical data, ensuring your existing list stays clean and current before you launch campaigns. Use real-time validation as your first line of defense for all new contacts. Schedule bulk validation runs before major campaigns or on a regular cadence to maintain list hygiene. Many marketing managers run bulk checks monthly to ensure their primary list stays in top shape. If you notice declining engagement rates or increasing bounce rates over time, accelerate your bulk validation schedule to catch degraded addresses faster.
Here's a summary contrasting real-time and bulk email checks:
| Validation Method | When Used | Main Advantage | Typical Application |
|---|---|---|---|
| Real-Time Validation | As new emails enter the system | Prevents invalid entries | Signup forms, lead capture |
| Bulk Validation | Scheduled intervals or pre-campaign | Cleans large lists efficiently | Campaign prep, monthly maintenance |
When you run bulk validation, you'll receive a detailed report showing valid addresses, invalid addresses, risky or uncertain addresses, and other categorizations depending on your verification settings. Pay attention to the reasons why addresses failed. Are you seeing high numbers of syntax errors, nonexistent domains, or disposable emails? These patterns tell you something about where your leads come from and where you might need to refine your lead generation approach. Export the cleaned list and use it for your campaigns. Many platforms allow you to automatically suppress invalid addresses from future sends, so they never appear in your campaign reports again.
Pro tip: Run your first bulk validation check on a segment of your list rather than your entire database to see the results and understand your validation metrics before processing your complete contact base.
Step 5: Review verification reports for insights
Your verification report is far more than just a list of valid and invalid addresses. It's a goldmine of information about your audience, your lead generation quality, and your email list health. Reading these reports correctly transforms raw data into actionable intelligence that shapes your marketing strategy. You'll discover patterns about which lead sources produce the cleanest lists, where your biggest bounce rate risks lie, and how your list is degrading over time.
When you open your verification report, you'll see several key metrics displayed. The percentage of valid addresses tells you what portion of your list is actually usable for campaigns. Invalid addresses show the damage you avoided by running verification before sending. Risk flagged addresses are the borderline cases that might deliver or might bounce depending on various factors. Catch-all addresses belong to domains that accept all incoming mail, making it harder to verify if the specific account is truly active. According to insights on email list health metrics and analysis, verification reports provide visibility into valid, invalid, risk flagged, and catch-all email percentages, helping identify problematic areas such as domains with high bounce rates. Start by looking at your overall valid rate. If it's above 85 percent, you're in good shape. Anything between 70 and 85 percent suggests your lead generation process needs refinement. Below 70 percent signals serious quality issues that need immediate attention.
For quick reference, here are key metrics in email verification reports and what they reveal:
| Metric | What It Indicates | Insight for Marketers |
|---|---|---|
| Valid Rate | Usable emails percentage | List quality, campaign readiness |
| Invalid Addresses | Count of unusable entries | Risk of bounces and wasted sends |
| Risk Flagged Emails | Borderline or uncertain cases | Potential for false positives |
| Catch-All Domains | Domains accepting all mail | Higher chance of undeliverable emails |
Dig deeper by analyzing the reasons why emails failed validation. Are you seeing high numbers of syntax errors, suggesting that data entry or form submission issues are the problem? High counts of nonexistent domains might indicate typos during signup or fraudulent activity. Large percentages of disposable emails point to people using temporary addresses to avoid commitment, common in low-intent signups. Domains with consistently high failure rates deserve investigation. You might notice that a particular lead source, campaign channel, or geographic region consistently produces lower quality addresses. If your webinar registrations generate 80 percent valid addresses but your paid ads only deliver 60 percent, that tells you something about audience intent and quality. You can then adjust your marketing strategy accordingly, perhaps investing more heavily in the higher-quality channels or implementing stricter validation rules for lower-quality sources.
Look at the breakdown by domain type. Some domains are inherently riskier because they're popular for spam signups or use catch-all servers. Others are reputable business domains that indicate professional prospects. If your list skews heavily toward risky domains, your deliverability will suffer no matter how clean your list otherwise appears. Compare your current report to previous reports if you've run verification before. Is your valid rate improving or declining? If it's dropping, that's early warning that your list is degrading and needs more frequent bulk validation runs. If it's improving, your lead generation efforts are getting better.
Use these insights to segment your list strategically. Create a highly targeted segment containing only verified valid addresses for your most important campaigns. Set up a separate segment for risk flagged addresses that might work with more aggressive sending or personalization. Suppress disposable email addresses entirely if they don't fit your business model. Build a tracking system where you monitor your list health metrics monthly and watch for trends. When you see your valid rate declining, you know it's time to run another bulk validation. When you see a particular lead source consistently underperforming, you have data to make decisions about where to invest your marketing budget.
Pro tip: Export your verification report and compare it against your actual email engagement data to see if the system's risk ratings align with real-world open rates and click-through rates from previous campaigns.
Step 6: Refine your campaigns with clean lists
Now that you have a verified, clean email list, you're positioned to run campaigns that actually perform. Clean lists transform your marketing fundamentals. Your open rates climb because you're sending to real people. Your click-through rates improve because engaged contacts are more likely to respond. Your sender reputation strengthens because you're not accumulating bounces and complaints. Most importantly, your marketing budget becomes efficient because every send goes to someone worth reaching.
Start by using your clean list to segment strategically. Rather than sending the same message to everyone, divide your contacts into groups based on the verification data and your business logic. Create your premium segment containing only addresses verified as completely valid with no risk flags. Use this segment for your most important campaigns, your highest-value offers, and your most time-sensitive messages. These contacts represent your safest bet for delivery and engagement. Build a secondary segment from your risk-flagged addresses. These might still deliver, but they carry higher bounce risk. You can send to this segment using more personalized or curiosity-driven subject lines that might increase open rates enough to offset the higher bounce rate. Create a third segment for disposable email addresses if they represent significant volume. Decide whether to suppress them entirely or test them with lower-priority campaigns. The segmentation approach depends on your risk tolerance and campaign importance.
Apply consistent list maintenance practices going forward. According to research on maintaining data quality throughout campaign lifecycles, clean lists enable more precise targeting and reduce communication waste while protecting against compliance issues. Regular updating and de-duplication keep your contact database free from redundant entries and outdated information. Set up a schedule where you perform monthly or quarterly bulk validation runs to catch degraded addresses before they damage your sender reputation. Remove contacts who haven't engaged in six to twelve months, as stale addresses are more likely to have gone bad. Monitor your bounce rates closely after each campaign. If you notice bounces rising, accelerate your validation schedule. If bounces remain low, your current maintenance rhythm is working.
Use your clean list as a foundation for growth. A verified, segmented list gives you confidence to test new strategies. You can experiment with more aggressive sending frequencies knowing that your list quality can support it. You can test new audience segments or campaigns, knowing that your baseline deliverability is solid. You can expand your email program to new channels or use cases knowing that your core list is reliable. Track your key metrics before and after implementing email verification. Measure your bounce rate, complaint rate, unsubscribe rate, open rate, and click rate. Compare these metrics month-to-month to see how list quality directly impacts your campaign performance. Most marketing managers see immediate improvements in bounce rates and often see secondary improvements in engagement metrics as your list becomes more targeted and relevant.
Consider implementing validation into your ongoing operations as a standard practice. Train your team to understand why list quality matters. Make verification part of your monthly checklist. Build validation costs into your email marketing budget as a normal operational expense. When team members ask why you're spending money on validation, show them the ROI in reduced bounce rates, improved deliverability, and avoided reputation damage.
Pro tip: Run a before-and-after analysis on one of your regular campaigns by splitting your audience in half, validating one half and sending both through your normal process, then comparing the bounce rates and engagement metrics to quantify the direct business impact of email verification.
Keep Your Marketing List Spotless With BillionVerify
Maintaining a clean email list is essential to boost your marketing success but it can be a complex challenge. This guide walks you through critical steps like preparing your list, running real-time and bulk checks, and interpreting verification reports—each vital to reducing bounce rates and improving deliverability. If your goal is to avoid invalid, disposable, or risky email addresses infiltrating your campaigns BillionVerify offers powerful solutions designed to meet these exact needs.
Experience real-time email verification with 99.9 percent accuracy plus bulk list cleaning so you can prevent bounce backs before they happen. Detect disposable and role-based emails and get detailed reports to understand your audience better. Start refining your campaigns with clean, validated contacts today. Visit BillionVerify to explore how our automated API and comprehensive validation features can transform your email marketing efforts. Take control now and protect your sender reputation with BillionVerify.
Frequently Asked Questions
What steps should I take to prepare my email list for validation?
Start by exporting your complete email list, including all relevant contact information. Organize the data in a CSV or Excel format, remove duplicates, and verify the accuracy of each email address to ensure reliable validation results.
How can I integrate BillionVerify with my marketing platform?
Access the API documentation or check the integration marketplace in your platform. Generate an API key from your BillionVerify account and configure your marketing platform to connect, enabling real-time email validation during the lead capture process.
What verification settings should I configure for accurate results?
Begin by selecting the right verification checks, such as syntax checking and mailbox existence checking, based on your specific needs. Test different sensitivity levels using a small sample to find the optimal balance between false positives and negatives for your campaigns.
How do real-time and bulk email validation checks differ?
Real-time validation occurs as new emails enter your system, preventing invalid entries immediately. In contrast, bulk validation runs periodically to clean existing lists, ensuring outdated or invalid email addresses are removed before campaigns are launched.
What key metrics should I focus on in my verification reports?
Pay attention to the valid rate, invalid addresses, and risk-flagged emails. These metrics provide insight into your list's health and help identify areas where adjustments to your lead generation processes may be necessary.
How can I maintain a clean email list after validation?
Implement a schedule for regular bulk validation checks, ideally once a month, to catch any degraded addresses. Additionally, remove contacts who haven’t engaged in the last six to twelve months to keep your email list as current and effective as possible.