


You open Outlook because you need a list fast. Maybe sales wants every prospect your team has already touched. Maybe marketing needs a re-engagement segment before a CRM migration. Then you notice the problem: your Contacts folder only holds part of the picture, while the address history is spread across Sent Items, Inbox threads, and old account folders.
That's where most Outlook extraction projects go sideways. People export contacts, assume they're done, and upload a messy file into a sender platform. In practice, how to extract email addresses from Outlook depends on what you need: saved contacts, message-history addresses, or both. Then the work starts. You clean the file, remove duplicates, and verify deliverability before anyone sends a campaign.
Why Extracting Email Addresses From Outlook Matters
The usual trigger is operational, not technical. A sales manager inherits a shared mailbox. A marketer needs a suppression-safe reactivation list. An ops lead is moving data into HubSpot or Salesforce and realizes the Outlook address book only reflects contacts somebody bothered to save.
That gap matters because Outlook stores two different kinds of useful address data. One sits in the Contacts store. The other lives inside email history across sent, received, forwarded, and replied messages. If you only export contacts, you'll miss people who were real correspondents but never became formal records.
I've seen this most often in outbound teams. SDRs email heavily from Outlook, but they rarely save every recipient as a contact. The result is predictable: the Contacts folder looks clean but incomplete, while Sent Items holds the actual working list.
Practical rule: Treat extraction as data collection, not list readiness.
A proper Outlook extraction usually supports one of these jobs:
- CRM migration: You need names and addresses in a structured CSV.
- List building: You want to identify everyone a rep or shared inbox has touched.
- Record enrichment: You're filling missing email fields in account or lead records.
- Re-engagement planning: You're collecting old correspondents before segmenting and verifying them.
What comes out of Outlook is rarely ready to send. Contact exports can include names, email addresses, phone numbers, and other fields depending on what's stored in the contact records, as Microsoft notes in its guidance for exporting contacts in Outlook. Message-history extraction creates a different kind of mess, usually duplicate recipients, display names, aliases, and internal addresses.
Four routes usually cover the job: native export, search-based extraction, rule-based capture, and scripting. Each one works. Each one also fails when used for the wrong mailbox.
Exporting Contacts From Outlook Desktop and Web
A saved Contacts folder is the easy case. If the mailbox owner maintained contact records, Outlook's native export gives you a cleaner CSV than anything pulled from message folders, because you start with structured fields instead of scraped header data.
That advantage has a limit. Native export only gets what was saved as a contact. It does not recover the larger set of people buried in Sent Items and Inbox history, which is why teams looking up how to extract email addresses often realize they are solving two different problems: exporting contact records and recovering correspondents from email history.
Classic Outlook on Windows
In classic Outlook on Windows, use:
File > Open & Export > Import/Export > Export to a file > Comma Separated Values
Then pick the right Contacts folder, save the CSV, and complete the wizard. Microsoft documents that sequence in its Outlook contact export steps.
Check field mapping before you click Finish, especially if the mailbox has custom contact fields or sync history from a CRM. The fields that usually matter are:
- First Name
- Last Name
- E-mail Address
- Company
I usually export a small test file first when a sales team has multiple shared mailboxes or old Exchange migrations in the background. It is faster to catch a bad field map early than to clean a full CSV after the fact.
Outlook on the Web
Outlook on the web is simpler if the contacts already live there. Go to People, then select Manage contacts > Export contacts. Microsoft notes in its Outlook on the web contact export guide that you can export all contacts or a specific folder, and the file downloads to your computer.
That folder choice matters in live environments. If one user keeps vendors in one folder and customers in another, export them separately. It keeps ownership and segmentation cleaner, and it cuts down on cleanup work later.
What Usually Goes Wrong
Folder selection causes the biggest mistakes. In classic Outlook, exporting from Contacts gives you contact records. Selecting a mail folder can give you email items instead, as Microsoft explains in its Answers guidance on exporting contacts.
A few other failure points show up often in operations work:
- Subfolders get skipped: contacts may be spread across multiple folders, accounts, or shared mailboxes.
- Distribution lists stay grouped: the export may include the list object without breaking out every member address.
- Address types vary: some environments expose Exchange-style values instead of the SMTP address users expect.
- CSV formatting changes by region: delimiter settings can shift between commas and semicolons.
Export each relevant Contacts folder as its own file if the mailbox spans multiple accounts. That makes deduplication and verification easier later, which matters because even a clean contact export is still only a source file. Before any send, the list still needs cleanup and address verification to avoid avoidable bounces and reputation problems.
One last operational check helps. Re-import the CSV into a temporary test Contacts folder and confirm that names, company fields, and email addresses come back in the right columns. If the round trip fails, fix the mapping before that file becomes your working list.
Pulling Email Addresses From Outlook Message History
Contacts export is tidy. Mail-history extraction is where most real address recovery happens.
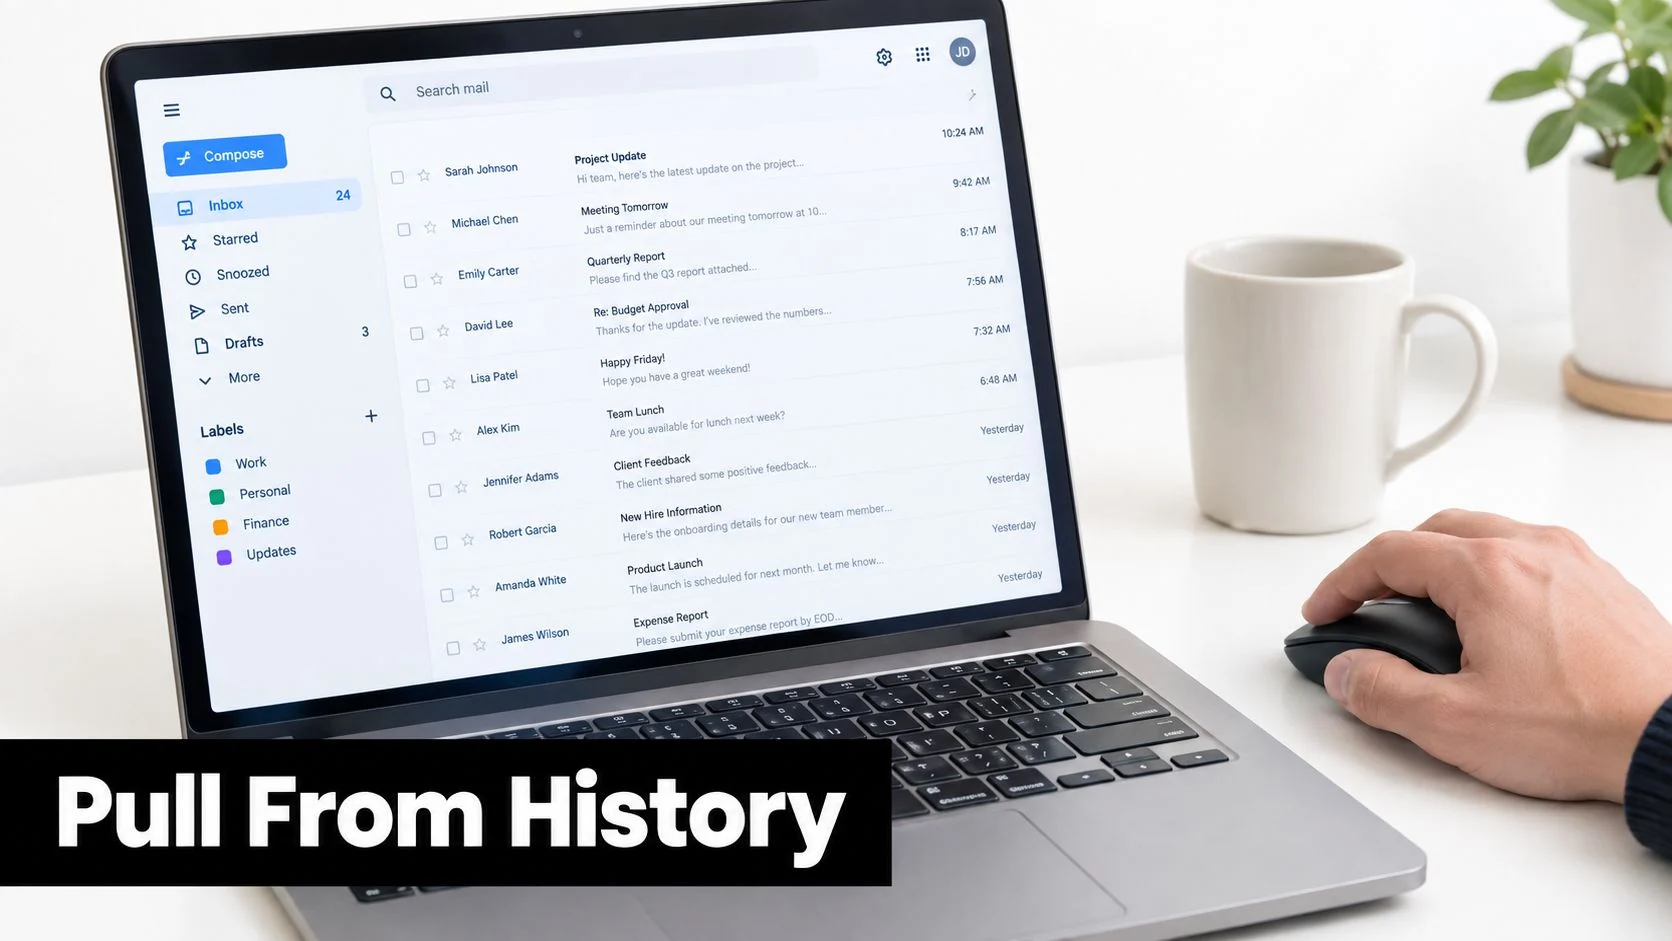
When the goal is to capture everyone a mailbox has talked to, you need to work from Inbox, Sent Items, or another message folder. Microsoft support and community guidance draw a clear line here: the standard contact export covers saved contacts, while extracting addresses from email history requires selecting message folders and mapping address-related fields such as From:(Address), To:(Address), CC:(Address), and BCC:(Address) in a CSV export workflow described in Microsoft Answers on complete email address extraction.
Method One With Advanced Find
In Outlook desktop, open the folder you care about first. Then go to:
Search > Search Tools > Advanced Find
Set Look in to the chosen folder, usually Sent Items if you want outbound recipients or Inbox if you want inbound senders. Folder scope changes the result dramatically. Sent Items tends to be richer for campaign and sales-history recovery. Inbox is better for lead capture, partner outreach, and support history.
If you need a quick forensic check on a suspicious sender or want to inspect routing details before trusting an address, BillionVerify also provides BillionVerify's email header tool, which is useful for header-level review rather than bulk extraction.
Method Two With Search in Outlook on the Web
Outlook on the web doesn't offer the same desktop-style extraction depth, but it's still useful for smaller jobs. Search operators like from: and to: narrow the mailbox quickly. Then you can sort results and copy addresses from message headers or the visible list.
This works well when you're collecting a narrow segment, such as all recipients tied to one account manager or one campaign thread. It gets slow when the mailbox is broad and messy.
Search works for a focused pull. It doesn't scale well when the mailbox is the dataset.
A visual walkthrough helps if you haven't used Outlook's message-level interface for this kind of extraction before.
Method Three With Custom Columns
Inside many Outlook views, you can right-click a column header, open Field Chooser, and drag in a field that exposes sender or recipient address information. Then select visible rows and copy them into Excel.
This method is fine for one-off jobs. It breaks down when display names hide the SMTP address, or when Outlook shows a friendly name instead of the raw mailbox value. That's the point where scripting becomes more reliable.
For large mailboxes, message-history extraction can take time, especially if you're mapping only the address fields to avoid noisy exports. Clear the default field mappings first and add only the fields you need. Otherwise, the CSV turns into a dump of irrelevant message metadata.
Comparing Native Export, Search, Rules, and Scripts
Don't need every extraction method. They need the one that matches the mailbox and the job.
Native export is the lowest-friction option. Search is the fastest ad hoc method. Rules help if you want addresses captured going forward. Scripts are what you use when the mailbox is too large or too inconsistent for manual work.
Outlook Email Extraction Methods Compared
| Method | Best Use Case | Skill Level | Output Format | Main Limit |
|---|---|---|---|---|
| Native CSV export | Saved contact lists | Low | CSV | Only covers contacts, not message history |
| Search and copy | Small one-off grabs from Inbox or Sent Items | Low | Copied text or spreadsheet paste | Manual and easy to miss hidden addresses |
| Rules | Ongoing inbound capture | Medium | Forwarded mail, organized folders, downstream exports | Doesn't backfill older threads |
| Scripts | Full mailbox review, audits, migrations | High | CSV or structured output | Needs scripting comfort and permission controls |
What Works Best by Scenario
If the goal is a newsletter list built from real contact records, native export usually wins. It's structured, repeatable, and doesn't force you to dig through mail history.
Search-based extraction makes sense when the audience lives in the mailbox rather than the address book. That's common with SDR activity, founder-led sales, and shared partnerships inboxes.
Rules sit in the middle. They're useful when you want future inbound traffic to be tagged, redirected, or collected into a capture workflow. They're far less useful when someone asks for a historical list by end of day.
When Scripts Earn Their Keep
Scripts are the right answer when volume or consistency overwhelms Outlook's UI. VBA macros and PowerShell approaches can reach deeper into mailbox data, but they also raise operational concerns. Someone needs to review permissions, protect exported files, and decide which folders count as legitimate source data.
One caution matters here: Microsoft's broader documentation now splits instructions across classic Outlook, Outlook on the web, and other clients, which leaves some extraction edge cases unresolved when PST export, autocomplete access, or admin rights aren't available, as reflected in Microsoft's import and export overview for Outlook.
If your end goal is clean outreach data after extraction, don't stop at collection. Clean the file first, then verify emails with BillionVerify or another validation workflow before importing addresses into any sender.
Cleaning and Deduplicating Your Exported Address List
The cleanup step is where Outlook contact export and mailbox extraction finally meet. Contacts usually arrive with clearer fields. Addresses pulled from message history are messier, because the same person can appear as a sender, recipient, forwarded contact, or display name pasted into a field.
Treat the first pass as data triage, not formatting.
Start by isolating the actual email value
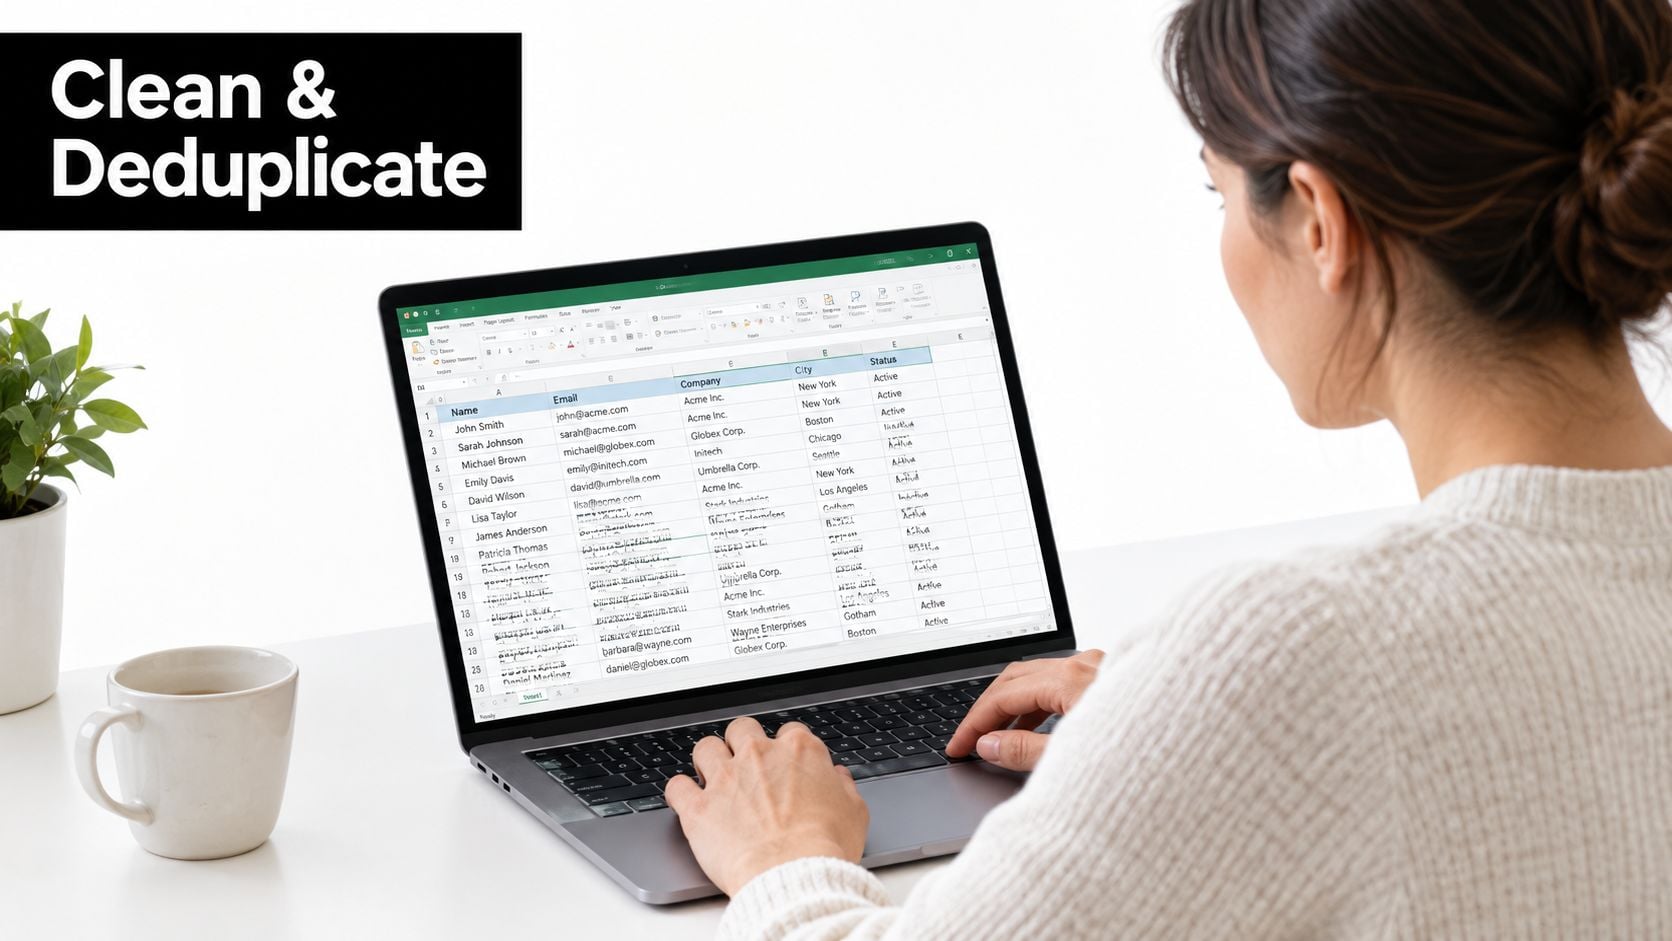
Open the file in Excel and get the Email Address column into its own clean field before you do anything else. If one cell contains multiple addresses, split them with Text to Columns using the delimiter your export used, usually a comma or semicolon. If the value includes display names like Jane Smith <jane@company.com>, strip the name portion so you are deduplicating on the mailbox itself, not on how Outlook displayed it.
Then copy only the columns you plan to keep into a fresh worksheet. For outreach lists, that is usually:
- First Name
- Last Name
- Email Address
Remove duplicates in a way that matches the source
If the list came from Contacts, duplicate rows are usually straightforward. If it came from message history, expect variations. The same mailbox may appear once in lowercase, once in mixed case, and once attached to a different name.
Use a two-pass approach:
- Normalize the email field first: Trim spaces, convert to lowercase, and remove obvious wrappers like angle brackets.
- Highlight duplicates visually: Conditional Formatting helps spot cases where one address is tied to multiple names or companies.
- Run Remove Duplicates on the normalized email column: This keeps one row per mailbox, which is usually the right rule for campaign imports.
- Review exceptions manually: Shared inboxes, aliases, and role accounts may need a separate decision.
A duplicate row does more than clutter the sheet. It can skew segmentation, inflate lead counts, and create repeat sends if the file reaches your sender unchanged.
Normalize before verification
Once duplicates are removed, clean for fit, not just format. Sales teams often want company addresses only. Partnership or support teams may decide to keep role accounts. There is no single correct rule here. The right filter depends on who will use the file and what kind of messages they plan to send.
A practical sequence looks like this:
- Split combined fields
- Strip display names
- Lowercase and trim the email field
- Remove duplicate mailboxes
- Tag personal or role-based addresses
- Filter malformed entries, including rows missing
@
Save the finished sheet as CSV UTF-8 before import. That preserves special characters and reduces field-mapping problems later. If you want a second pass before the file reaches a sender, run it through a bulk email verification tool.
Verifying and Securing Your List Before You Send
A cleaned CSV still isn't safe to mail. It's just more organized.
Verification is where you separate usable addresses from the ones that can hurt deliverability, inflate bounce risk, or create compliance trouble. One basic technical check is at the domain level: a verification system should confirm MX records exist, because a domain without MX records can't receive email at all, as explained in this overview of how email verification works.
What to Check Before Importing Into a Sender
Upload the cleaned CSV to your verification workflow, map the Email Address field, and review the returned statuses before any send. You'll want to suppress clearly invalid entries and review ambiguous ones separately.
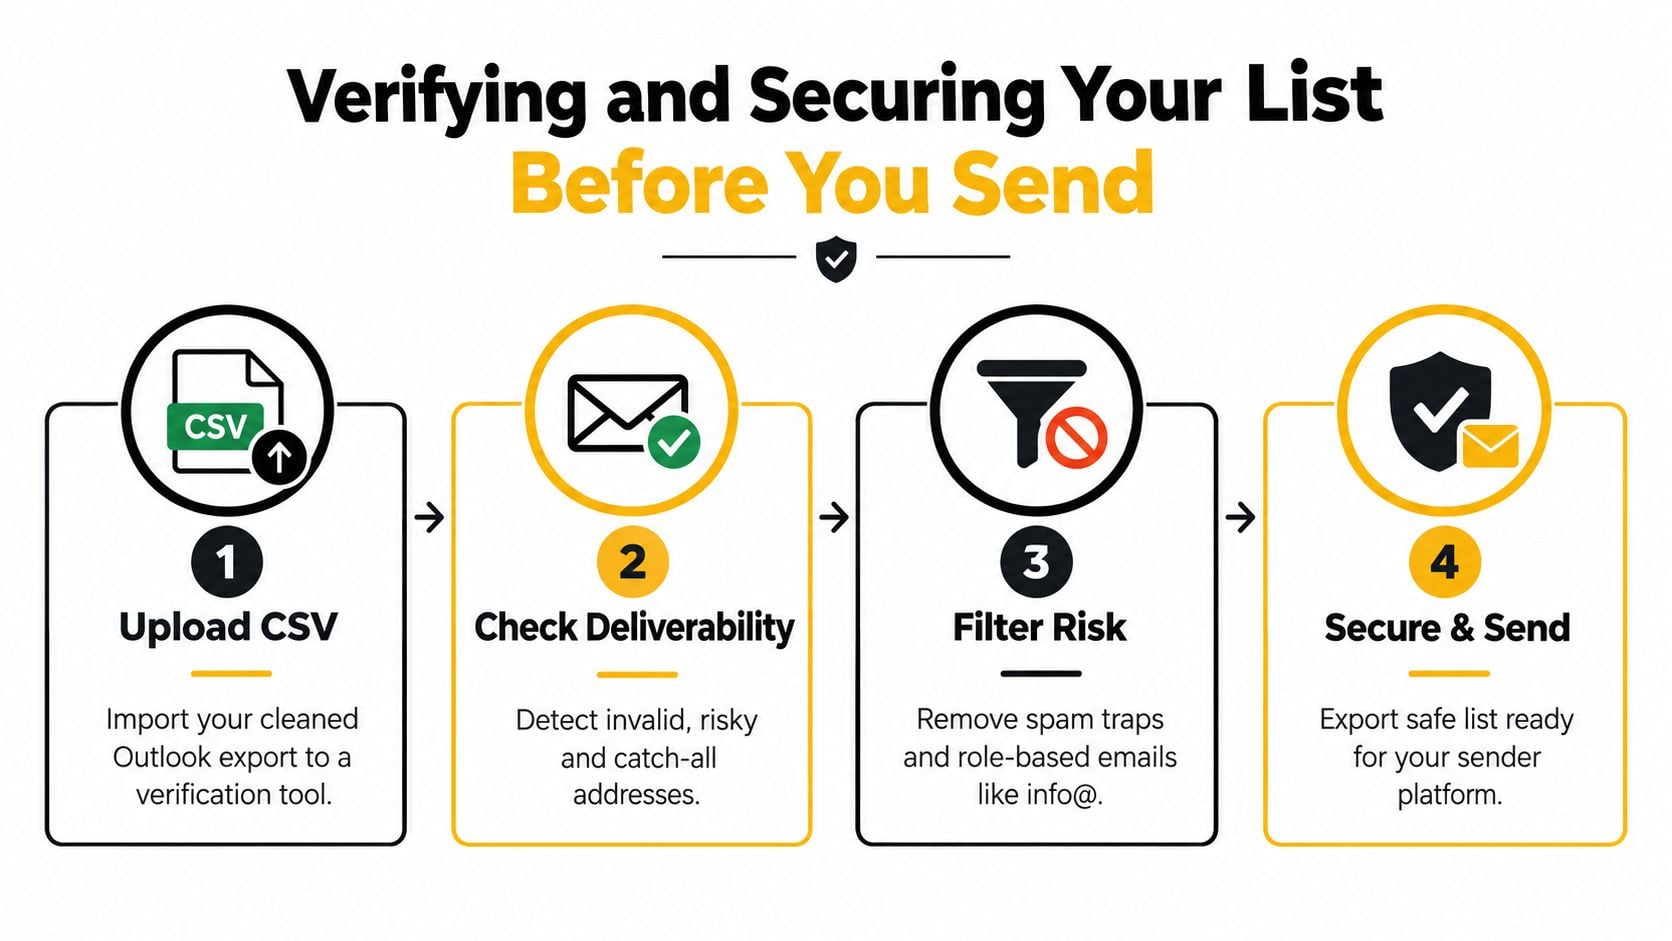
The practical checks usually include:
- Invalid addresses: Remove them before import.
- Catch-all domains: Review with caution if your process flags them.
- Disposable mailboxes: Exclude them from most campaign workflows.
- Role accounts: Decide whether addresses like info@ or support@ belong in your audience.
If you're also trying to reduce abuse and throwaway signups before list growth reaches Outlook in the first place, this guide on how to protect your Square referral program is a useful example of why disposable-email detection matters upstream.
Handle the File Like Sensitive Data
Privacy mistakes around exports are common and avoidable. Delete temporary CSVs, scratch files, and any PST copies you created once the verification run is complete. Keep the final report in an access-controlled location, not a shared drive that half the team can browse.
If you need to automate checks inside signup or enrichment flows after manual extraction work, an Email Validation API can push verification upstream so bad addresses get caught before they hit CRM or campaign tools.
This is not optional. A list extracted from Outlook without verification can damage sender reputation quickly. A list extracted without lawful basis can create legal exposure just as fast.
Quick Checklist and Privacy Reminders
When the job lands on your desk, follow the sequence below and keep it boring. Boring is what works.
Extraction Checklist
- Identify the source first: Decide whether the addresses live in Contacts, message history, or both.
- Pick the lightest method that fits: Use native export for contacts, search for one-off pulls, rules for ongoing capture, and scripts for large historical jobs.
- Export to CSV: Keep the raw file unchanged until you create a cleaned working copy.
- Open in Excel or your data tool: Split fields, isolate the email column, and standardize headers.
- Deduplicate and normalize: Remove repeats, strip malformed entries, and separate addresses that don't fit the campaign.
- Verify before import: Don't load raw Outlook output directly into an ESP or sequencing tool.
Privacy and Compliance Reminders
Keep the guardrails tight:
- Confirm lawful basis: Check your obligations under GDPR, CAN-SPAM, CASL, or the rules that apply where you operate.
- Stay inside authorized mailboxes: Don't extract from inboxes you don't own or administer.
- Scrub sensitive categories: Remove internal addresses, role accounts, and competitors if they don't belong in the workflow.
- Honor opt-outs fast: If someone has unsubscribed or asked not to be contacted, suppress them immediately.
- Protect the file at rest: Store exported CSVs securely and delete them after verification and import.
- Document provenance: Note the extraction date and source folder so someone can audit the list later.
Verify before you send, every time.
BillionVerify gives teams a practical way to finish the job after Outlook extraction by checking whether the addresses you collected are safe to use. If you're moving contact data out of Outlook, cleaning it, and trying to protect sender reputation before a campaign, visit BillionVerify and review its verification options for bulk files and API-based checks.